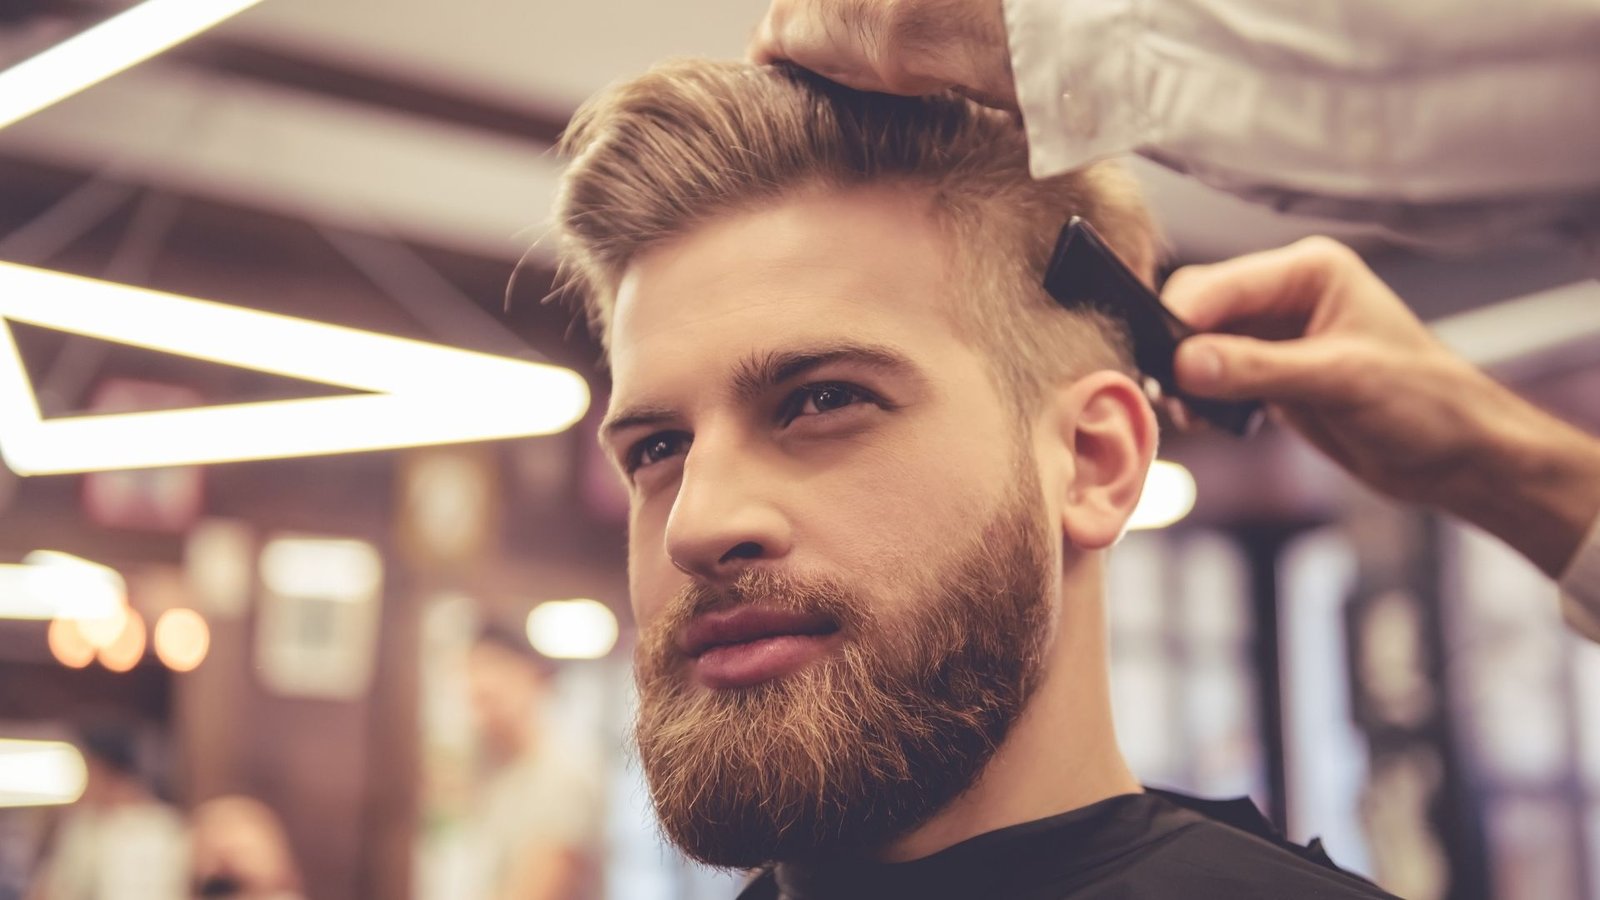
You walked into the shop with a crisp photo saved on your phone. Maybe it was a celebrity, maybe it was some guy from Instagram with perfect lighting and a jawline sharp enough to cut glass. Twenty minutes later, you’re staring in the mirror wondering what happened. The haircut you got is fine, but it’s not that haircut. If you’ve ever felt that gap between expectation and reality, you’re not alone, and you’re definitely not being unreasonable. There are real, measurable reasons why a reference photo and the final result rarely match perfectly, from the texture of your hair to the angle the photo was shot at to the words you used to describe what you wanted. This guide breaks down every variable at play, so the next time you sit in the chair, you’ll know exactly how to close that gap.
Key Takeaways
- Hair texture, density, and growth pattern are the single biggest reasons a haircut diverges from a reference photo, often more influential than the actual technique used.
- Lighting, camera angles, and photo editing make reference images look sharper and more symmetrical than any haircut looks in real life under normal bathroom lighting.
- Face shape and bone structure interact with a haircut’s lines in ways a flat photo simply cannot show.
- Vague language during a consultation is one of the most common and most fixable causes of a disappointing result.
- Choosing a barber with the right experience, showing multiple reference angles, and getting a proper consultation dramatically improves your odds of leaving with a haircut near me that actually resembles what you asked for.
The Gap Between the Photo and the Chair
Before anyone touches a comb, there’s already a problem brewing. The photo on your phone was never a neutral, objective reference. It was shot, lit, and often edited to look as flattering as possible. Understanding this gap is the first step to closing it.
Lighting and Camera Tricks
Professional photography uses lighting setups that most barbershops simply don’t have. Studio photographers use diffused overhead and side lighting to create shadow and depth that make a haircut’s lines look crisper than they are in person. A fade that looks razor sharp in a photo might have been shot under a ring light that eliminates the soft transition zones you’d see under fluorescent shop lighting.
Camera angle matters just as much. Most reference photos are shot from a slightly elevated angle or a dead-on front angle that hides the back and sides completely. You might be in love with the top of a haircut without realizing you have no idea what the back looks like, and neither does your barber unless you show more than one photo.
Hair Texture vs Photo Texture
Here’s something barbers see every single day: a client brings in a photo of someone with fine, straight hair, but the client has thick, wavy hair. The haircut in the photo relies on hair laying flat and moving in a specific way. Your hair has its own personality, and it won’t automatically behave like someone else’s.
| Hair Texture | How It Behaves After Cutting | Styling Difficulty to Match Reference Photos |
| Fine, straight | Lays flat, shows scalp more easily | Moderate, texture shows every mistake |
| Thick, straight | Holds shape, can look bulky if not thinned | Moderate to high |
| Wavy | Moves unpredictably, adds natural texture | High |
| Curly | Shrinks significantly when dry, hard to predict length | Very high |
| Coily | Shrinkage can exceed 50%, requires specialized cutting | Very high |
Face Shape Differences
A haircut isn’t just hair. It’s a frame around your face, and that frame interacts with your bone structure in ways a flat photo can’t replicate. We’ll dig deeper into face shape in the next section, but it’s worth planting the flag here: the exact same haircut can look completely different on two different skulls.
The photo gap is real, but it’s only the beginning. Once your hair meets the clippers, texture and growth pattern take over as the dominant forces shaping your result.
Why Hair Texture Changes Everything
If there’s one lesson every barber learns in their first year behind the chair, it’s this: hair texture dictates outcome more than almost any other variable. You can have the most skilled barber in the city, but if the request doesn’t match the texture, the result won’t match the photo.
Straight vs Curly vs Coily
This comparison comes up constantly in consultations, and it deserves a direct breakdown.
Straight hair vs curly hair: Straight hair falls close to the scalp and creates clean, visible lines immediately after cutting. Curly hair coils as it dries, which means a length that looks perfect wet can shrink up dramatically once it air dries. According to the American Academy of Dermatology, curly and coily hair types can experience length reduction of 50 percent or more between wet and dry states. That’s the difference between a photo showing a two inch taper and a dry result that looks half that length.
Coily hair has its own set of rules entirely. Cutting coily hair requires understanding the natural curl pattern, because cutting it wet or straightened produces a result that bears little resemblance to how the hair will actually sit once it dries and springs back to its natural shape.
Density and Thickness
Density refers to how many hair strands exist per square inch of scalp, while thickness refers to the diameter of each individual strand. These are two separate things, and both affect outcome.
A guy with high density but fine strands can achieve a similar visual weight to a guy with lower density but thick strands. Reference photos rarely communicate either of these variables, which means your barber is often working blind until they actually run a comb through your hair.
| Hair Type | Density | Thickness | Visual Result After Cutting |
| Fine and sparse | Low | Thin | Scalp visible, requires shorter guards for fullness illusion |
| Fine and dense | High | Thin | Soft, full-looking despite thin strands |
| Coarse and sparse | Low | Thick | Can look patchy, needs strategic layering |
| Coarse and dense | High | Thick | Bulky, needs thinning shears for manageable shape |
Growth Patterns and Cowlicks
Every head has a unique growth map. Crowns, cowlicks, and whorls dictate which direction hair naturally wants to fall, and fighting against that direction is a losing battle. A cowlick near the hairline can push a fringe to flip the wrong way no matter how much product you use. Your barber has likely already adjusted the photo’s design in their head before the first clip of the scissors, simply because your growth pattern won’t allow an identical replication.
Texture, density, and growth pattern form the biological blueprint of your haircut. But even with perfect texture matching, there’s another layer that reference photos almost never account for: the shape of your face.
The Role of Face Shape and Bone Structure
A haircut sits on a three dimensional surface, not a flat image. This is one of the most overlooked reasons a reference photo and a final result diverge, and it’s purely anatomical.
Round vs Square vs Oval
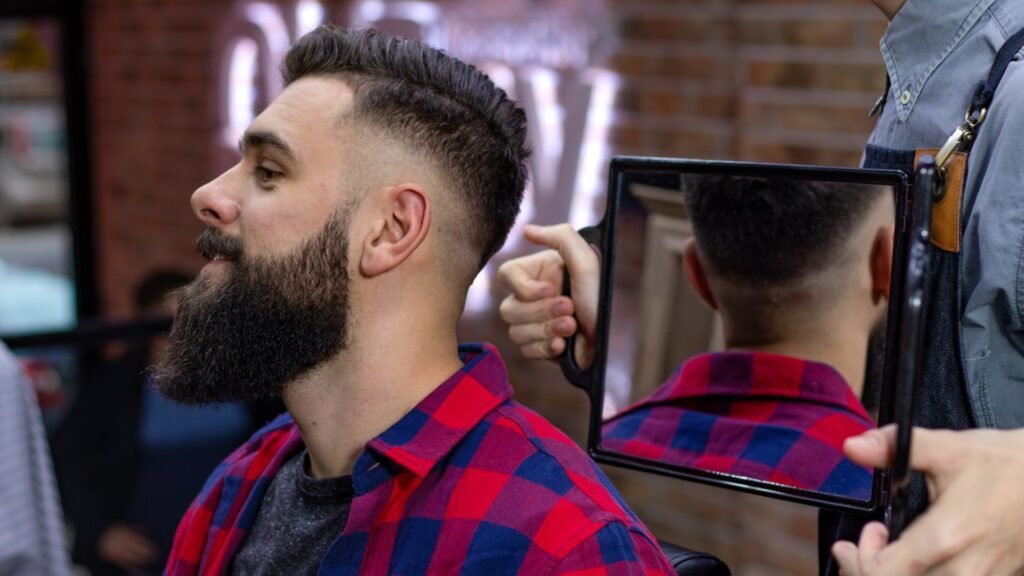
Round face vs square face: A round face benefits from added height and angles to create the illusion of length and definition. A square face already has strong angles from the jawline, so a haircut with too much structure on top can make the face look boxier rather than balanced. Oval faces are considered the most versatile, since most haircut styles translate well regardless of the specific cut.
If the person in your reference photo has an oval face and you have a round face, the exact same haircut will produce a noticeably different silhouette. This isn’t a failure of your barber’s skill. It’s geometry.
| Face Shape | Best Haircut Characteristics | What to Avoid |
| Round | Height on top, shorter sides, angular fringe | Rounded shapes that mirror the face’s roundness |
| Square | Textured top, softer edges | Sharp, blunt lines that double down on angularity |
| Oval | Most styles work well | Excessive height that elongates further |
| Diamond | Fringe or layers at the cheekbone | Styles that add width at the temples |
| Heart | Volume at the jaw area, shorter top | Heavy top volume that emphasizes forehead width |
Jawline and Haircut Balance
A strong jawline can support a longer, heavier top, while a softer jawline often looks better with a haircut that creates sharper visual lines to compensate. This is why two guys can ask for the exact same fade and walk out with results that look completely different in overall impression, even if the technical execution was identical.
Ear and Hairline Placement
Ear position and hairline shape affect how a fade or taper blends visually. A low hairline paired with a high fade creates a different proportion than a high hairline with the same fade. Your barber adjusts these details on the fly based on your actual anatomy, something no reference photo could have anticipated.
Face shape and bone structure are permanent variables that no haircut technique can override. Once your barber accounts for your anatomy, the next challenge becomes making sure the two of you are speaking the same language.
Communication Breakdown: What You Say vs What You Mean
Ask any barber with real years in the chair, and they’ll tell you the single biggest source of disappointment isn’t skill. It’s miscommunication. Words like “short on the sides” mean wildly different things to different people.
Common Vague Terms
Terms like “a little off the top,” “medium fade,” or “keep it natural” are interpreted through the barber’s own frame of reference unless you clarify with specifics. A number two guard means something precise in measurement, but “medium” has no fixed definition.
| Vague Request | What Clients Often Mean | What Barbers Might Interpret |
| “A little shorter” | Half an inch | One to two inches |
| “Medium fade” | Mid fade starting at temple | Low fade or high fade depending on region |
| “Not too short” | Leave length for styling | Trim just enough to clean up |
| “Natural look” | Minimal change | Textured, less structured cut |
How Barbers Interpret Requests
Experienced barbers ask clarifying questions precisely because they’ve been burned before by assumptions. A good barber will ask about guard numbers, show you a mirror at multiple stages, and confirm before committing to an irreversible cut. If your barber isn’t doing this, it’s worth speaking up and asking for that extra confirmation yourself.
The Consultation That Actually Works
The best consultations use specific, measurable language. Instead of “medium fade,” say “fade that starts about an inch above my ear, blending into a number three on top.” Instead of “like the photo,” point to specific elements: “the sharpness of this line here” or “the length of the fringe in this picture.”
Bringing multiple photos from different angles, along with specific numeric guard preferences if you know them, removes nearly all ambiguity. This single change in how you communicate can be the difference between frustration and satisfaction.
Clear communication solves half the problem, but the other half comes down to the tools and techniques your barber chooses to use, which we’ll break down next.
The Barber’s Toolkit and Technique Variables
Even with perfect communication and matching hair texture, technique choices create variation. Understanding the toolkit helps you have a more informed conversation in the chair.
Clipper Guards Explained
Guard numbers determine length, but the relationship isn’t always intuitive to clients unfamiliar with barbering terminology.
| Guard Number | Length in Inches | Common Use |
| 0 | 1/16 inch | Bald fade base, very close |
| 1 | 1/8 inch | Buzz cuts, fade starting points |
| 2 | 1/4 inch | Short crew cuts |
| 3 | 3/8 inch | Standard short sides |
| 4 | 1/2 inch | Medium length sides |
| 5 | 5/8 inch | Longer, fuller sides |
| 6 | 3/4 inch | Transitional top lengths |
| 7 | 7/8 inch | Longer top styles |
| 8 | 1 inch | Textured, longer looks |
Scissor vs Razor Finish
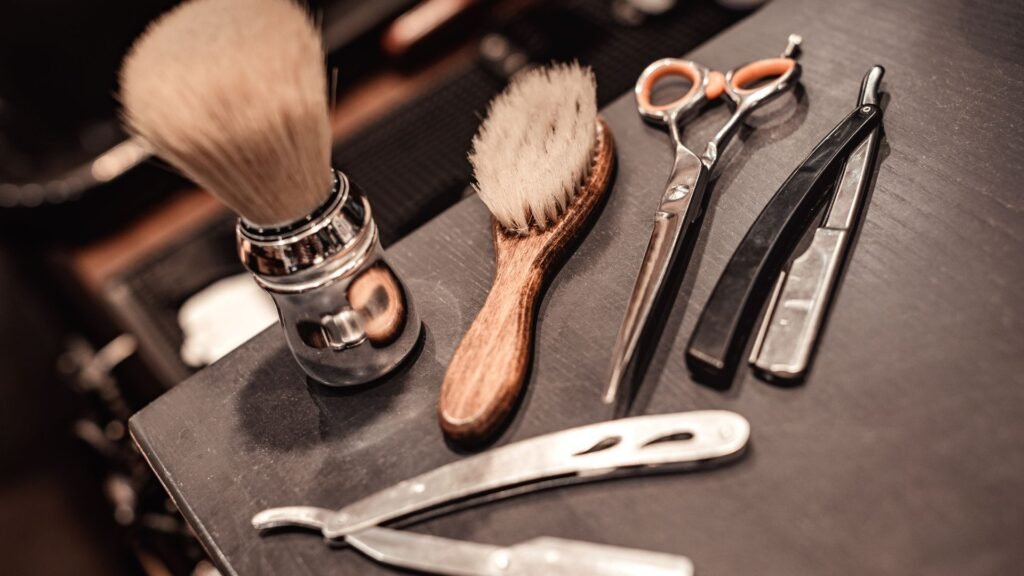
Scissor cutting vs razor cutting: Scissors create blunt, defined edges that hold their shape for longer. Razor cutting creates a softer, more textured finish by slicing through the hair shaft at an angle, which can look more natural but tends to grow out faster and loses its shape sooner. If your reference photo shows soft, textured ends and your barber uses scissors exclusively, the final look will carry more weight and structure than the photo suggests.
Fades vs Tapers
Fade vs taper: A fade transitions hair down to skin, creating a dramatic, high contrast blend. A taper gradually shortens hair without going down to the skin, producing a softer, less dramatic transition. These two techniques produce visually distinct results even when the starting length on top is identical. If your reference photo features a skin fade and your barber gives you a taper (perhaps because your hair texture or scalp sensitivity calls for it), the sides will look noticeably different even though the top matches.
Technique choices, from guard numbers to blending style, directly shape how closely your result mirrors the photo. But timing matters too, and that’s a factor almost nobody thinks about before sitting in the chair.
Hair History and Growth Timing
Haircuts aren’t static. They evolve day by day as hair grows, and the photo you brought in might have been taken at the perfect moment in that growth cycle, not the moment you walked into the shop.
How Fast Hair Grows
According to the American Academy of Dermatology, the average human scalp hair grows roughly half an inch per month. That means a haircut photographed two weeks after the original cut will look notably different from the haircut on day one, with softer lines and more length for styling versatility.
Why Timing the Cut Matters
If your reference photo was taken a few weeks post cut, asking for that exact look on day one of a fresh cut sets an impossible standard. Fresh cuts tend to look sharper and more severe immediately after, before they settle and soften over the following days. Many barbers will tell you a haircut doesn’t fully “sit” until two or three days have passed, once the lines relax slightly and the style starts moving more naturally.
Styling After the Cut
A huge portion of what makes reference photos look polished happens after the scissors are put away. Styling, drying technique, and product application finish the job that cutting starts. We’ll cover this in detail in the next section, but it’s worth noting here that timing and styling are deeply connected. A cut styled an hour after cutting, fresh from a blow dry and product application, will look different from that same cut air dried the next morning before work.
Growth timing explains why even a perfectly executed haircut can look different from a photo on day one. Add styling and product differences into the mix, and the gap widens further.
Product and Styling Differences
The final ten percent of any great haircut comes down to styling, and this is an area where home results and in-shop or photographed results diverge the most.
Styling Products Table
| Product Type | Hold Level | Shine Finish | Best For |
| Pomade (oil based) | Medium | High shine | Slicked styles, classic looks |
| Pomade (water based) | Medium to high | Medium shine | Versatile, easy restyle |
| Clay | High | Matte | Textured, modern styles |
| Wax | Medium | Medium shine | Short, defined styles |
| Paste | Medium | Low shine | Natural, textured looks |
| Gel | High to extreme | High shine | Sleek, controlled styles |
| Sea salt spray | Low | Matte | Beachy texture, volume |
Heat Tools
Many reference photos, especially from editorial or influencer sources, involve a blow dryer and round brush, or even a flat iron to temporarily alter the hair’s natural fall. If you don’t own these tools or don’t know how to use them, replicating that exact finish at home becomes nearly impossible even with the identical haircut underneath.
Photo Editing
This one stings a bit, but it has to be said. A significant number of reference photos, particularly from social media, have been lightly edited. Sharpness, contrast, and even subtle reshaping tools can tighten up lines and smooth out skin and hairlines in ways that no haircut, no matter how skilled the barber, can physically replicate. Being aware of this helps set a more grounded, achievable expectation before you even sit down.
Products and styling tools close a big part of the gap, but managing your expectations from the start prevents disappointment before it happens.
Setting Realistic Expectations
Confidence in the chair starts with honesty about what’s achievable. This doesn’t mean lowering your standards, it means aiming them at something your hair and face shape can actually deliver.
Celebrity Photos vs Reality
Celebrity reference photos vs everyday reference photos: Celebrity haircuts are often the product of a team, professional lighting, high end products, and sometimes even hair extensions or fibers to add density on camera. Comparing your bathroom mirror result to a red carpet photo isn’t a fair benchmark. A more realistic approach is finding reference photos of regular people with similar hair texture and face shape to your own.
Working With What You Have
Every head of hair has strengths. A skilled barber’s job is to highlight those strengths rather than force a design that fights your natural texture and growth pattern. This is where trusting your barber’s professional opinion pays off, even if it means deviating slightly from the photo.
Building Trust With Your Barber
A long term relationship with one barber who knows your hair’s history pays dividends over time. They’ll remember how your hair behaved last time, what guard length worked best, and which areas need extra attention. This institutional knowledge, built over repeated visits, is something no reference photo can substitute for.
Realistic expectations set the stage for a satisfying result. The next step is making sure the consultation itself is doing its job properly.
How to Choose the Right Reference Photo
Not all reference photos are created equal. Choosing smarter photos from the start dramatically improves your odds of a result you’ll love.
Multiple Angles
A single front facing photo tells your barber almost nothing about the back or sides. Bring at least two or three photos: front, side profile, and back if possible. This gives a complete picture rather than a partial guess.
Matching Your Hair Type
Search specifically for reference photos of people with your hair texture, density, and even similar hair color if possible, since color can affect how a cut visually reads. A photo of someone with thick, coarse, dark hair won’t translate accurately if you have fine, light colored hair.
Realistic Choices
Pick photos of people with a similar face shape and even similar age to your own when possible. Hairlines change over time, and a photo of a 22 year old with a full hairline isn’t a fair comparison if you’re 45 with some natural recession at the temples.
Choosing the right photo sets your barber up for success. But photos are only half the equation. The conversation in the chair is where the real precision happens.
The Consultation: Your Best Tool
A rushed consultation is one of the fastest routes to a disappointing haircut. Treating this five minute conversation with the seriousness it deserves changes everything downstream.
Questions to Ask
Ask your barber directly how they plan to adapt the reference photo to your specific hair texture and face shape. Ask what guard numbers they’re planning to use. Ask how the style will look as it grows out over the following weeks. These questions invite a collaborative conversation rather than a one way instruction.
Bringing the Right Photo
Reiterate the specific elements you care about most from the photo rather than expecting an exact full replication. Maybe it’s the sharpness of the line up, or the length left on top for styling. Naming your priorities helps your barber focus their skill where it matters most to you.
Professional Treatment During Consultation
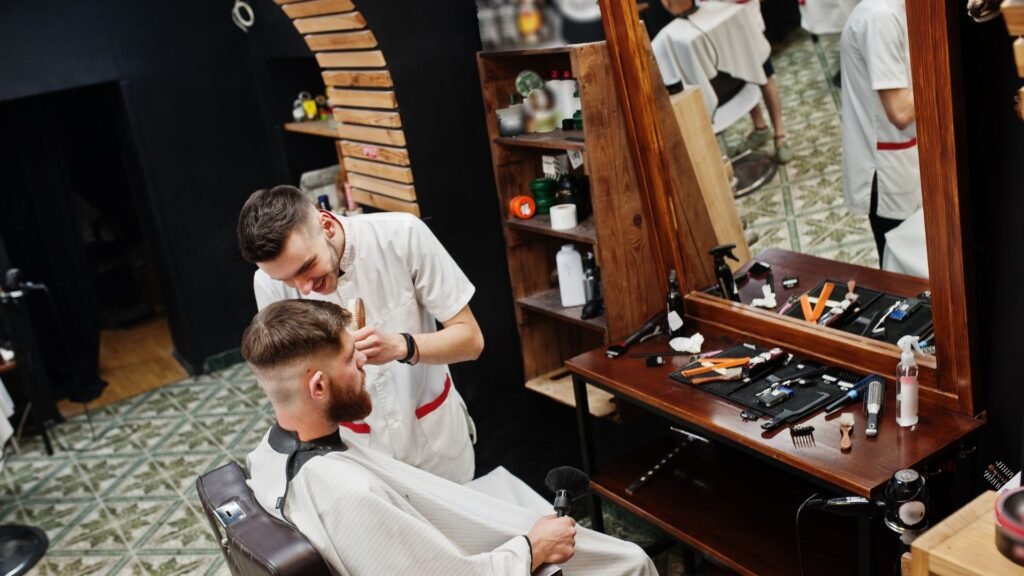
A shop that takes consultation seriously, asking questions, checking in during the cut, and offering mirror checks at each stage, is providing the kind of Professional Treatment that leads to consistently better outcomes. This isn’t about luxury extras. It’s about communication discipline built into the service itself.
A strong consultation bridges the gap between photo and reality better than almost anything else. But none of this matters if you’re not sitting in the right chair to begin with.
Finding the Right Barber
Skill level varies enormously between barbers, and matching your needs to the right professional matters just as much as anything discussed so far.
Credentials and Experience
Years behind the chair, specialized training in specific cutting techniques, and experience with your particular hair texture all matter. A barber who specializes in fades might not be the best fit if you have curly hair that needs specific cutting techniques to manage shrinkage and curl pattern.
Reviews and Portfolio
Look at a barber’s portfolio for examples of work on hair similar to yours, not just impressive photos of hair types unlike your own. Reviews mentioning communication, patience, and consultation quality are often more telling than reviews simply praising the final look.
Finding a Haircut Near Me
When searching for a haircut near me, prioritize shops with detailed portfolios and reviews that specifically mention communication and consultation quality, not just overall satisfaction. A shop with five hundred reviews praising speed but few mentioning careful consultation might not be the best fit if precision matching a reference photo is your priority.
Finding the right barber is a long term investment that pays off every single visit. Once you’ve found that person, maintaining the cut properly keeps it looking close to the photo for as long as possible.
Haircut Maintenance and Upkeep
A great haircut is only the beginning. How you maintain it between visits determines how long it continues to resemble the version you loved on day one.
Maintenance Schedule by Style
| Haircut Style | Recommended Maintenance Interval | Reason |
| Skin fade | 2 to 3 weeks | Fade lines grow out and blur quickly |
| Taper | 3 to 4 weeks | Softer blend grows out more gracefully |
| Buzz cut | 2 to 3 weeks | Uniform length shows growth unevenly |
| Textured crop | 4 to 6 weeks | Length on top allows more flexibility |
| Longer styles | 6 to 8 weeks | Growth blends naturally into existing length |
At Home Upkeep
Trimming neckline and sideburn growth between visits, using the right products consistently, and avoiding over washing (which can strip natural oils and affect how hair styles) all contribute to keeping a cut looking fresh for longer.
When to Rebook
Rebooking before the style fully grows out, rather than waiting until it looks messy, keeps the line fresh and the overall shape closer to what you originally wanted. Many barbers recommend booking your next appointment before you even leave the chair.
Maintenance keeps your haircut looking sharp between visits, but avoiding a few common mistakes in the first place saves you the frustration altogether.
Common Mistakes That Widen the Gap
Most disappointing haircut experiences trace back to a handful of avoidable mistakes. Recognizing them ahead of time puts you back in control.
Mistake Comparison Table
| Mistake | Why It Happens | Better Approach |
| Bringing only one photo angle | Barber lacks full picture | Bring front, side, and back photos |
| Using vague language | Assumes shared understanding | Use specific guard numbers and measurements |
| Ignoring hair texture differences | Assumes all hair behaves the same | Choose photos matching your texture |
| Expecting day one perfection | Doesn’t account for growth and settling | Expect the cut to improve over a few days |
| Skipping the consultation | Rushing to save time | Treat consultation as the most important five minutes |
| Choosing a barber unfamiliar with your hair type | Convenience over specialization | Research portfolio for similar hair examples |
Overcorrecting Mid Haircut
Asking a barber to make dramatic changes partway through a cut, after length has already been removed, often compounds problems rather than solving them. Trust the process and communicate early rather than midway through an irreversible cut.
Not Speaking Up
Many clients stay silent even when something looks off during the cut, assuming it will resolve itself by the end. Speaking up early, while there’s still room to adjust, prevents small issues from becoming a finished result you’re unhappy with.
Avoiding these mistakes puts the odds back in your favor. Now let’s answer some of the most common specific questions clients ask about this exact topic.
Frequently Asked Questions
Why does my haircut look worse right after I get it cut?
Fresh haircuts often look sharper and more severe immediately after cutting, before the lines relax and the style settles over the following two to three days. Barbers sometimes describe this as the cut needing time to “sit,” since hair needs a short period to fall naturally back into its regular pattern after being freshly trimmed.
Can a barber make my hair look exactly like a celebrity’s photo?
Not exactly, and that’s okay. Celebrity photos often involve professional styling teams, specific lighting, and sometimes added density tools or light photo editing. A skilled barber can capture the spirit and general shape of a celebrity haircut while adapting it to suit your actual hair texture and face shape for a realistic, flattering result.
How many reference photos should I bring to my appointment?
Bringing two to three photos, including a front view, a side profile, and a back view if possible, gives your barber a complete picture of the style you want. A single angle leaves too much open to interpretation and guesswork.
Why did my curly hair turn out shorter than I expected?
Curly and coily hair types can shrink by 50 percent or more between a wet and fully dry state, according to the American Academy of Dermatology. A length that looked correct while your hair was wet during the cut can appear noticeably shorter once your hair air dries and the natural curl pattern springs back.
Should I tell my barber if I don’t like how the haircut looks during the cut?
Yes, absolutely. Speaking up early while there’s still length to work with gives your barber the chance to adjust before the cut is finished. Staying silent until the end often means the opportunity to fix the issue has already passed.
What’s the difference between a fade and a taper?
A fade blends the hair down to bare skin, creating a dramatic, high contrast transition. A taper gradually shortens the hair without exposing the scalp, resulting in a softer, more subtle blend. Both can look great, but they produce visibly different results even when paired with the same length on top.
How often should I get my hair cut to maintain a specific style?
This depends on the style. Fades and buzz cuts generally need attention every two to three weeks since the sharp lines grow out quickly, while longer, textured styles can often go four to eight weeks between visits since growth blends more naturally into the existing length.
Why does the same haircut look different on me than in the photo?
Face shape, bone structure, hair texture, density, and growth pattern are all unique to you, and each one interacts with a haircut’s lines and proportions differently than they do on the person in the reference photo. This is a natural result of individual anatomy, not a sign that anything went wrong with the cut itself.
Conclusion
A reference photo is a starting point, not a contract. The real magic happens in the conversation between you and your barber, where texture, face shape, growth patterns, and honest communication come together to create something tailored specifically to you rather than a flat copy of someone else’s hair. Next time you sit in the chair, bring multiple angles, use specific language, ask questions during the consultation, and trust your barber’s professional read on what will actually work with your hair. The goal was never to become someone else in the photo. It was always to become the sharpest, most polished version of yourself.